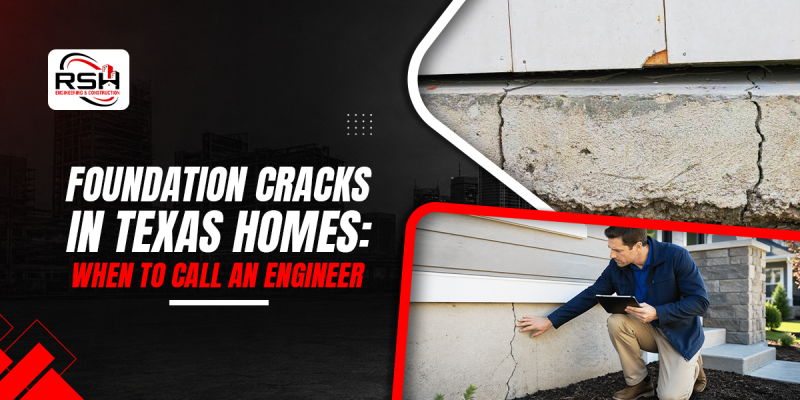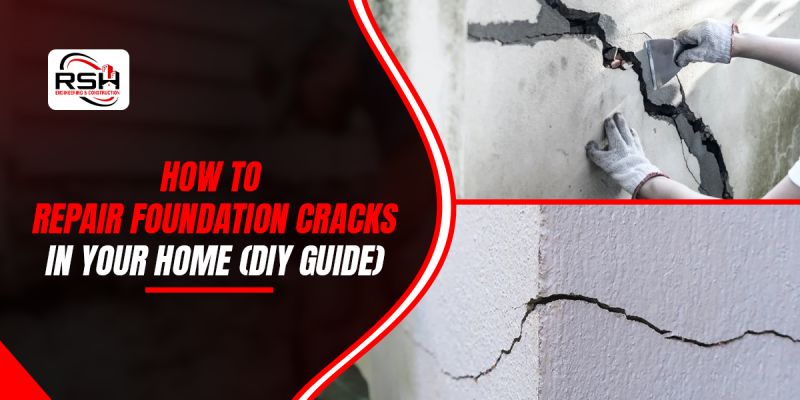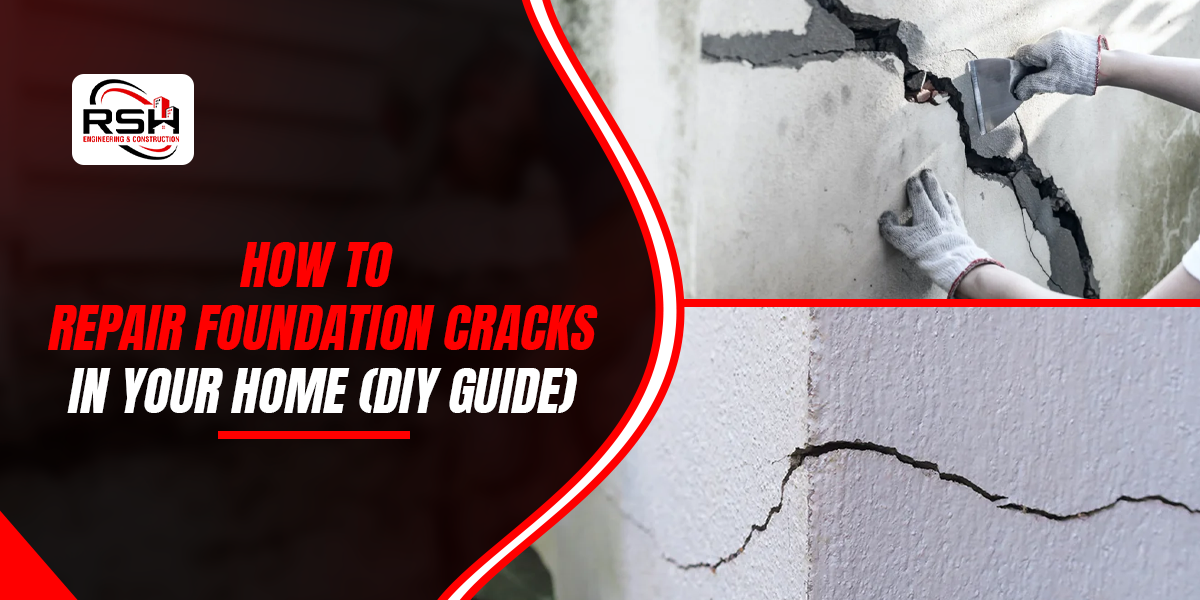
Finding a foundation crack in your basement might be a stressful situation for many homeowners, and they start looking for foundation crack repair steps. Trust me, you are not the only one facing these troubles. Understanding how these cracks occur and what repair steps must be taken to seal them. RSH Engineering & Construction helps to professionally solve these structural issues.
Understanding What Causes These Cracks
Foundation inspection is the first and foremost step to identify these cracks in your structures. Before looking for a repair procedure, it’s important to understand what causes these cracks.
- Soil Movement: Due to moisture changes, the structure undergoes expansion and contraction
- Natural Settling: Over time, houses shift slightly
- Poor Drainage: Sometimes, water buildup puts pressure on the walls
- Change in Temperature: The structural concrete expands and contracts
Knowing these causes of foundation cracks helps you to choose the right curing steps.
Common Types of Foundation Cracks
Getting signs of foundation damage is the right time to start looking for repair steps that make your property secure. Before getting into looking for repair steps, let’s understand its common types.
1. Vertical Cracks
- It is usually caused by natural settling
- Least concerning and most common
- It can be sealed with epoxy injection
2. Horizontal Cracks
- Seen as a sign of foundation wall bowing or hydrostatic pressure
- It should be evaluated ASAP
- Commonly repaired with carbon fiber reinforcement + epoxy
3. Diagonal Cracks
- They are caused by uneven settling or moisture pressure
- Extra monitoring is required, but they are usually repairable with epoxy
4. Stair Step Cracks
- These cracks follow mortar lines in a zigzag pattern
- Happens due to soil movement or moisture issues
Common Step-by-Step DIY Repair Process
These home foundation issues are, of course, not appealing to any homeowners, and that’s why we introduce these important DIY repair steps.
Step 1:
Finding the cracks is the first step, making you aware of their size, growth over time, and any moisture or leakage. It is recommended that cracks under ¼ inch wide are usually safe for DIY repair.
Having knowledge about the possible size of these cracks will help in repairing them with whatever methods and procedures are required.
Step 2:
In DIY foundation crack repair, after finding the proper knowledge about these cracks, the next step is cleaning the area thoroughly. You can scrub the crack using a wire brush, removing dirt, loose concrete, and debris. Lastly, use a vacuum or blow dust out in this way; proper cleaning makes sure of strong bonding of the filler.
Step 3:
For a better foundation repair, we need to make this crack slightly wider, which is the next step. For this work, homeowners can choose a chisel that helps to create this V-shaped groove that allows filler to penetrate deeper and hold better. Once the homeowners follow these steps as given, they will be able to seal these cracks.
Step 4:
It’s time to choose the right repair method for sealing these cracks, such as the following:
- Concrete crack filler: This is the required step, especially for small cracks, which can be done using a caulking gun. Fill the crack evenly and smooth the surface with a tool.
- Using Polyurethane Sealant for waterproofing, which is flexible and ideal for cracks that may expand. It is beneficial for areas like the basement or having moisture.
- Using epoxy injections for structural length requires attaching injection ports along the crack. Now seal the surface and inject epoxy into the crack.
Step 5:
In this step, we have to make it smooth and finish the repair of the crack in the basement wall using a putty knife, removing excess material, and blending with the surrounding wall if needed.
Step 6:
At last, you have to give some time to heal the crack itself. Leave it for at least 24-48 hours and avoid touching or exposing it to water during this time.
Conclusion
Once you find these cracks, it’s time to look for foundation crack repair methods that not only solve issues but also make sure for long-term security. There are various steps involved, from finding these cracks to cleaning and using epoxy & other solutions until leaving it for drying and watering. If these cracks are not manageable with DIY, professional service is required. RSH Engineering & Construction helps homeowners by providing professional crack repair services.
Frequently Asked Questions on How to Repair Foundation Cracks in Your Home (DIY Guide)
Q1. Can homeowners see these cracks with their naked eyes?
A1. Yes, sometimes these cracks are clearly visible to homeowners with the naked eye, but sometimes they need extra precision.
Q2. Should homeowners prefer only DIY methods for sealing the cracks?
A2. DIY methods may help you initially but are not effective in the long term. Sometimes, even after trying DIY methods, homeowners contact a professional service provider.
Q3. Do these cracks in the foundation cause any significant problems?
A3. Yes, having cracks in your foundation may lead to building collapse if not cured in time using professional help methods.